
Ok, so I moved out about three months ago and now I’m livin on my own and trying my best not to blow every dime I earn towards decorating my shpankin new place. I’ve done a lot of decorating, this is definitely going to need several parts to showcase all of it, thats for sure.
So, my first move to making over my apartment was working on my room. I decided to take this ugly rug that was left at my old house and do something different with it.
For starters, you’re gonna need whatever paint you wanna use (I used two half-gallons? of paint, one white and one a robins egg blue shade). I also used regular tape I had lying around.


Step 1- Take your ugly rug and paint the crap out of it with whatever color you want as your base. If I would have known the paint was going to seep through the rug as much as it did I would’ve done the blue first, but I chose to do white as the base (*slaps forehead* stupid, so stupid).
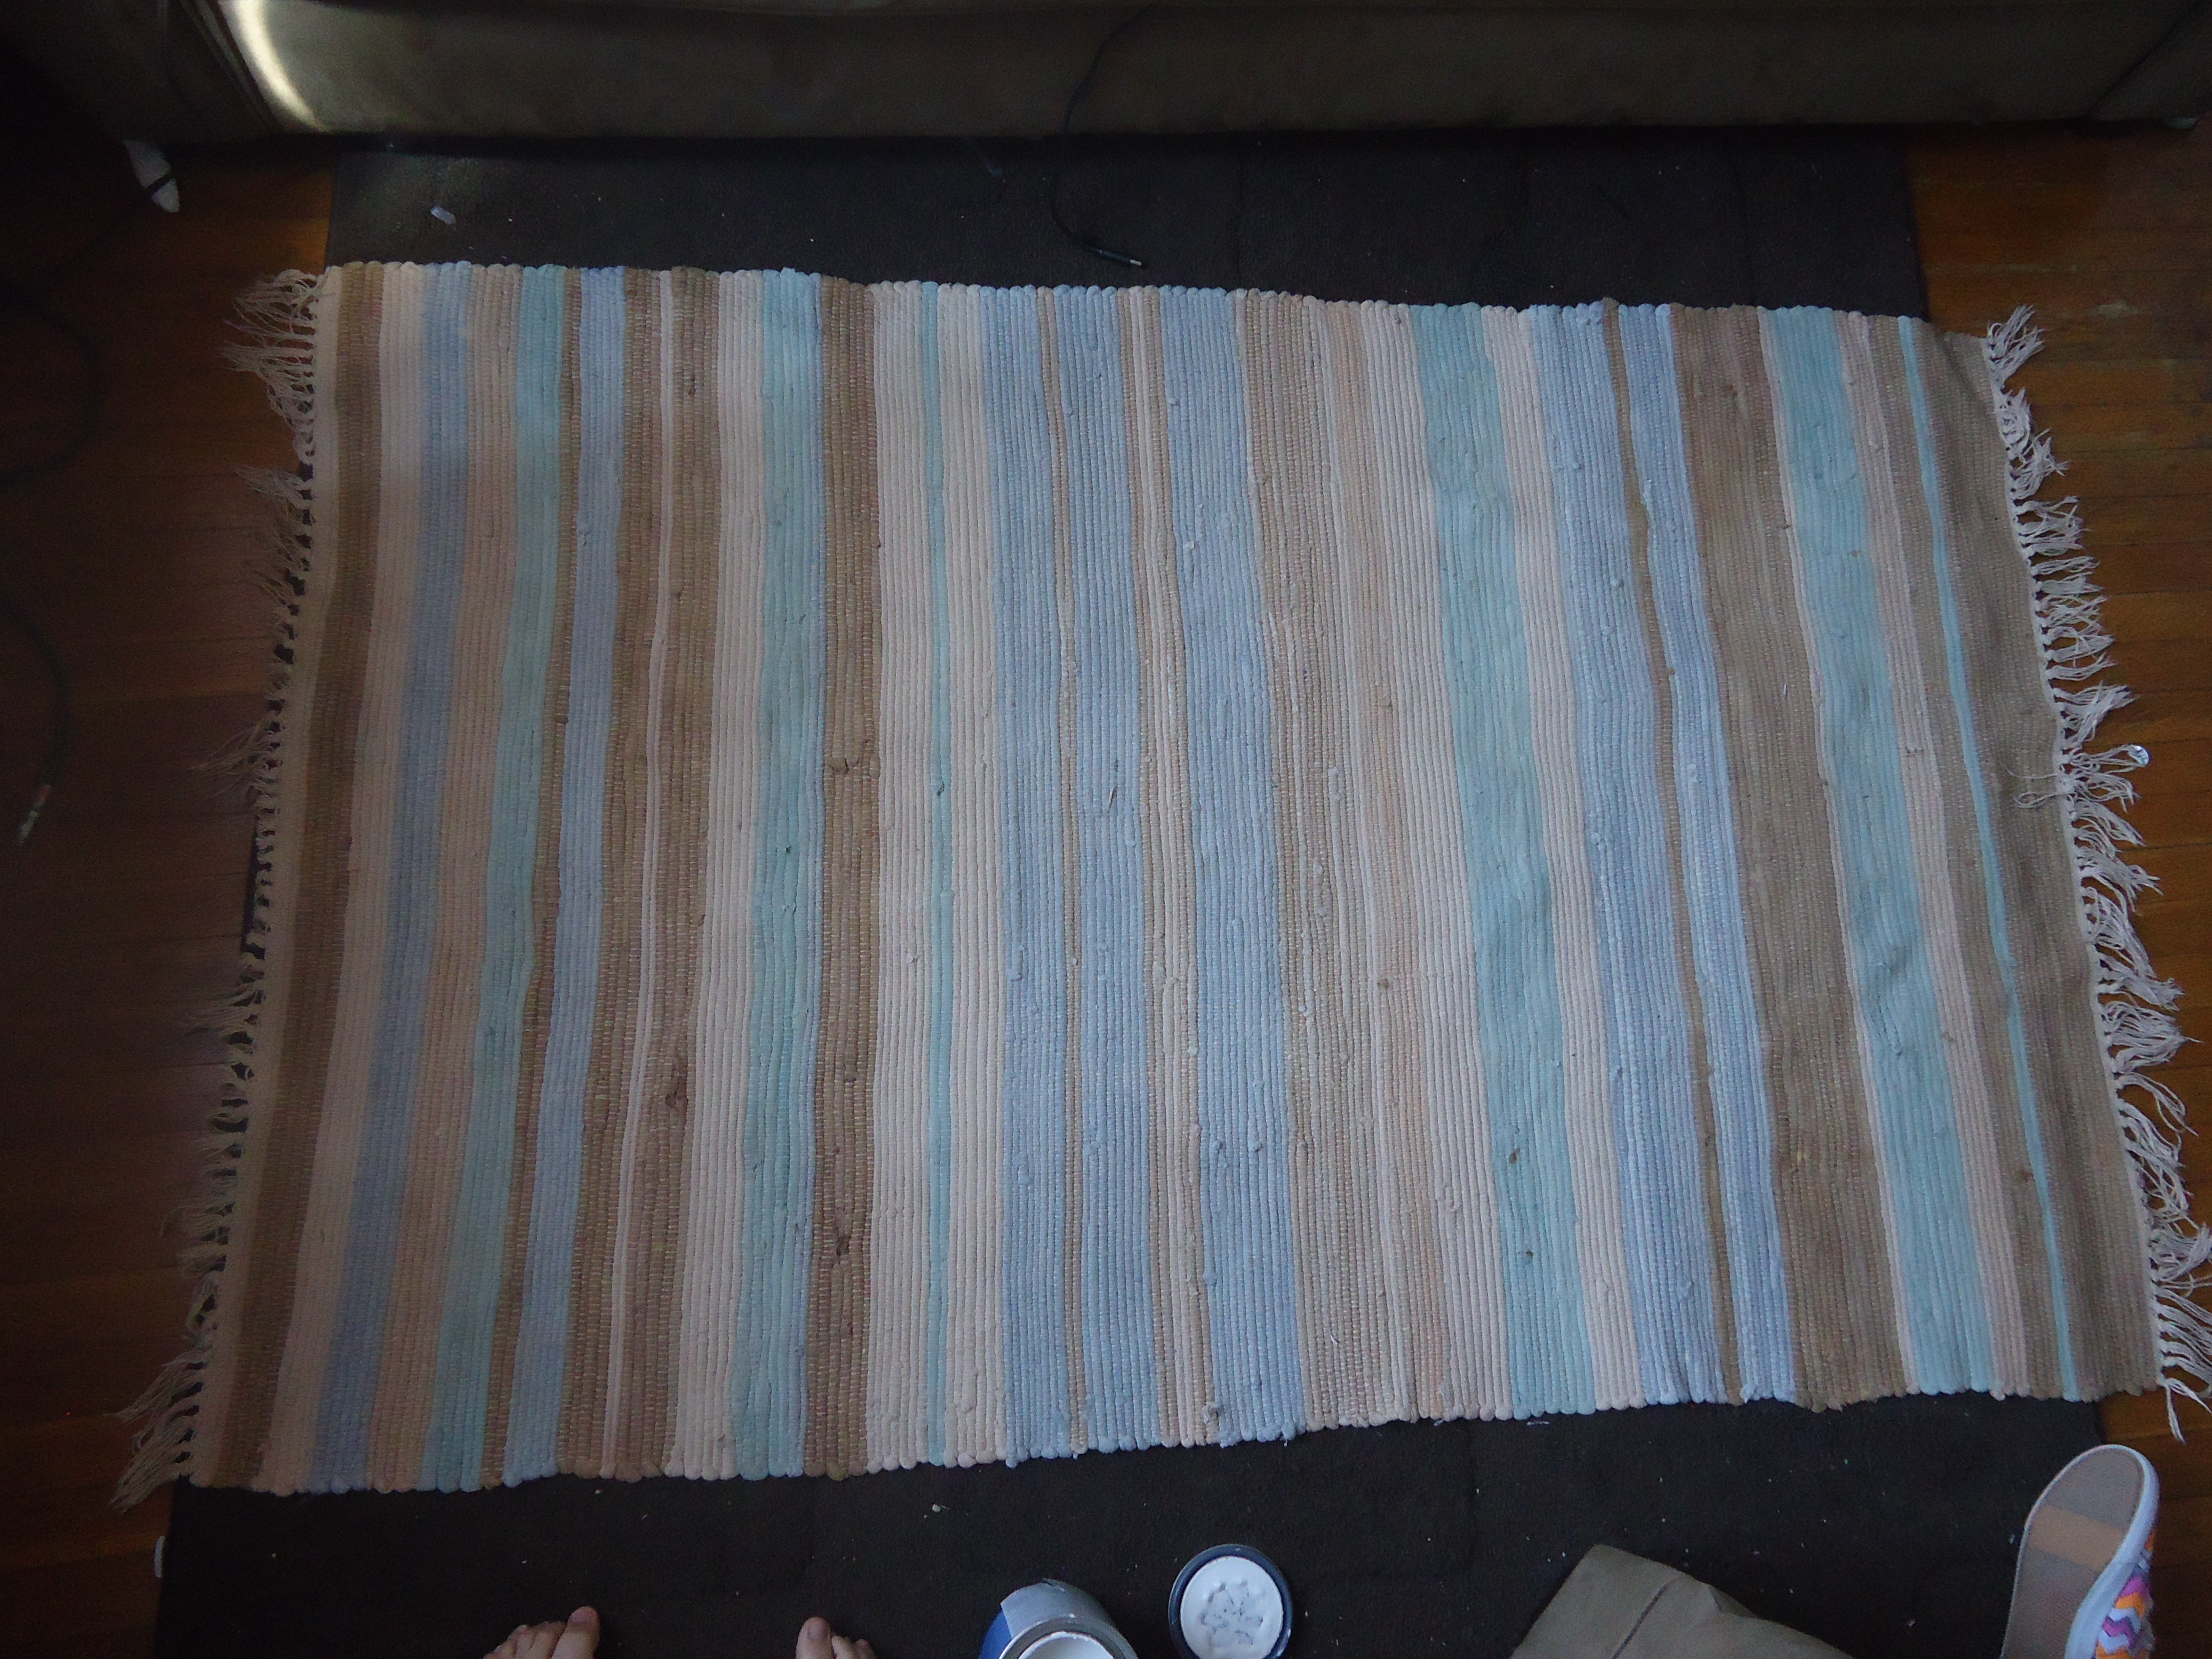
This is how the rug looked before, by the way.

Step 2- At this point, I ran out of paint (awesome). Which meant that you could clearly see that there was a pattern underneath the paint. Of course, I had no patience at this point and I just wanted to start taping the design so I went ahead and stuck with the weird not-white background.
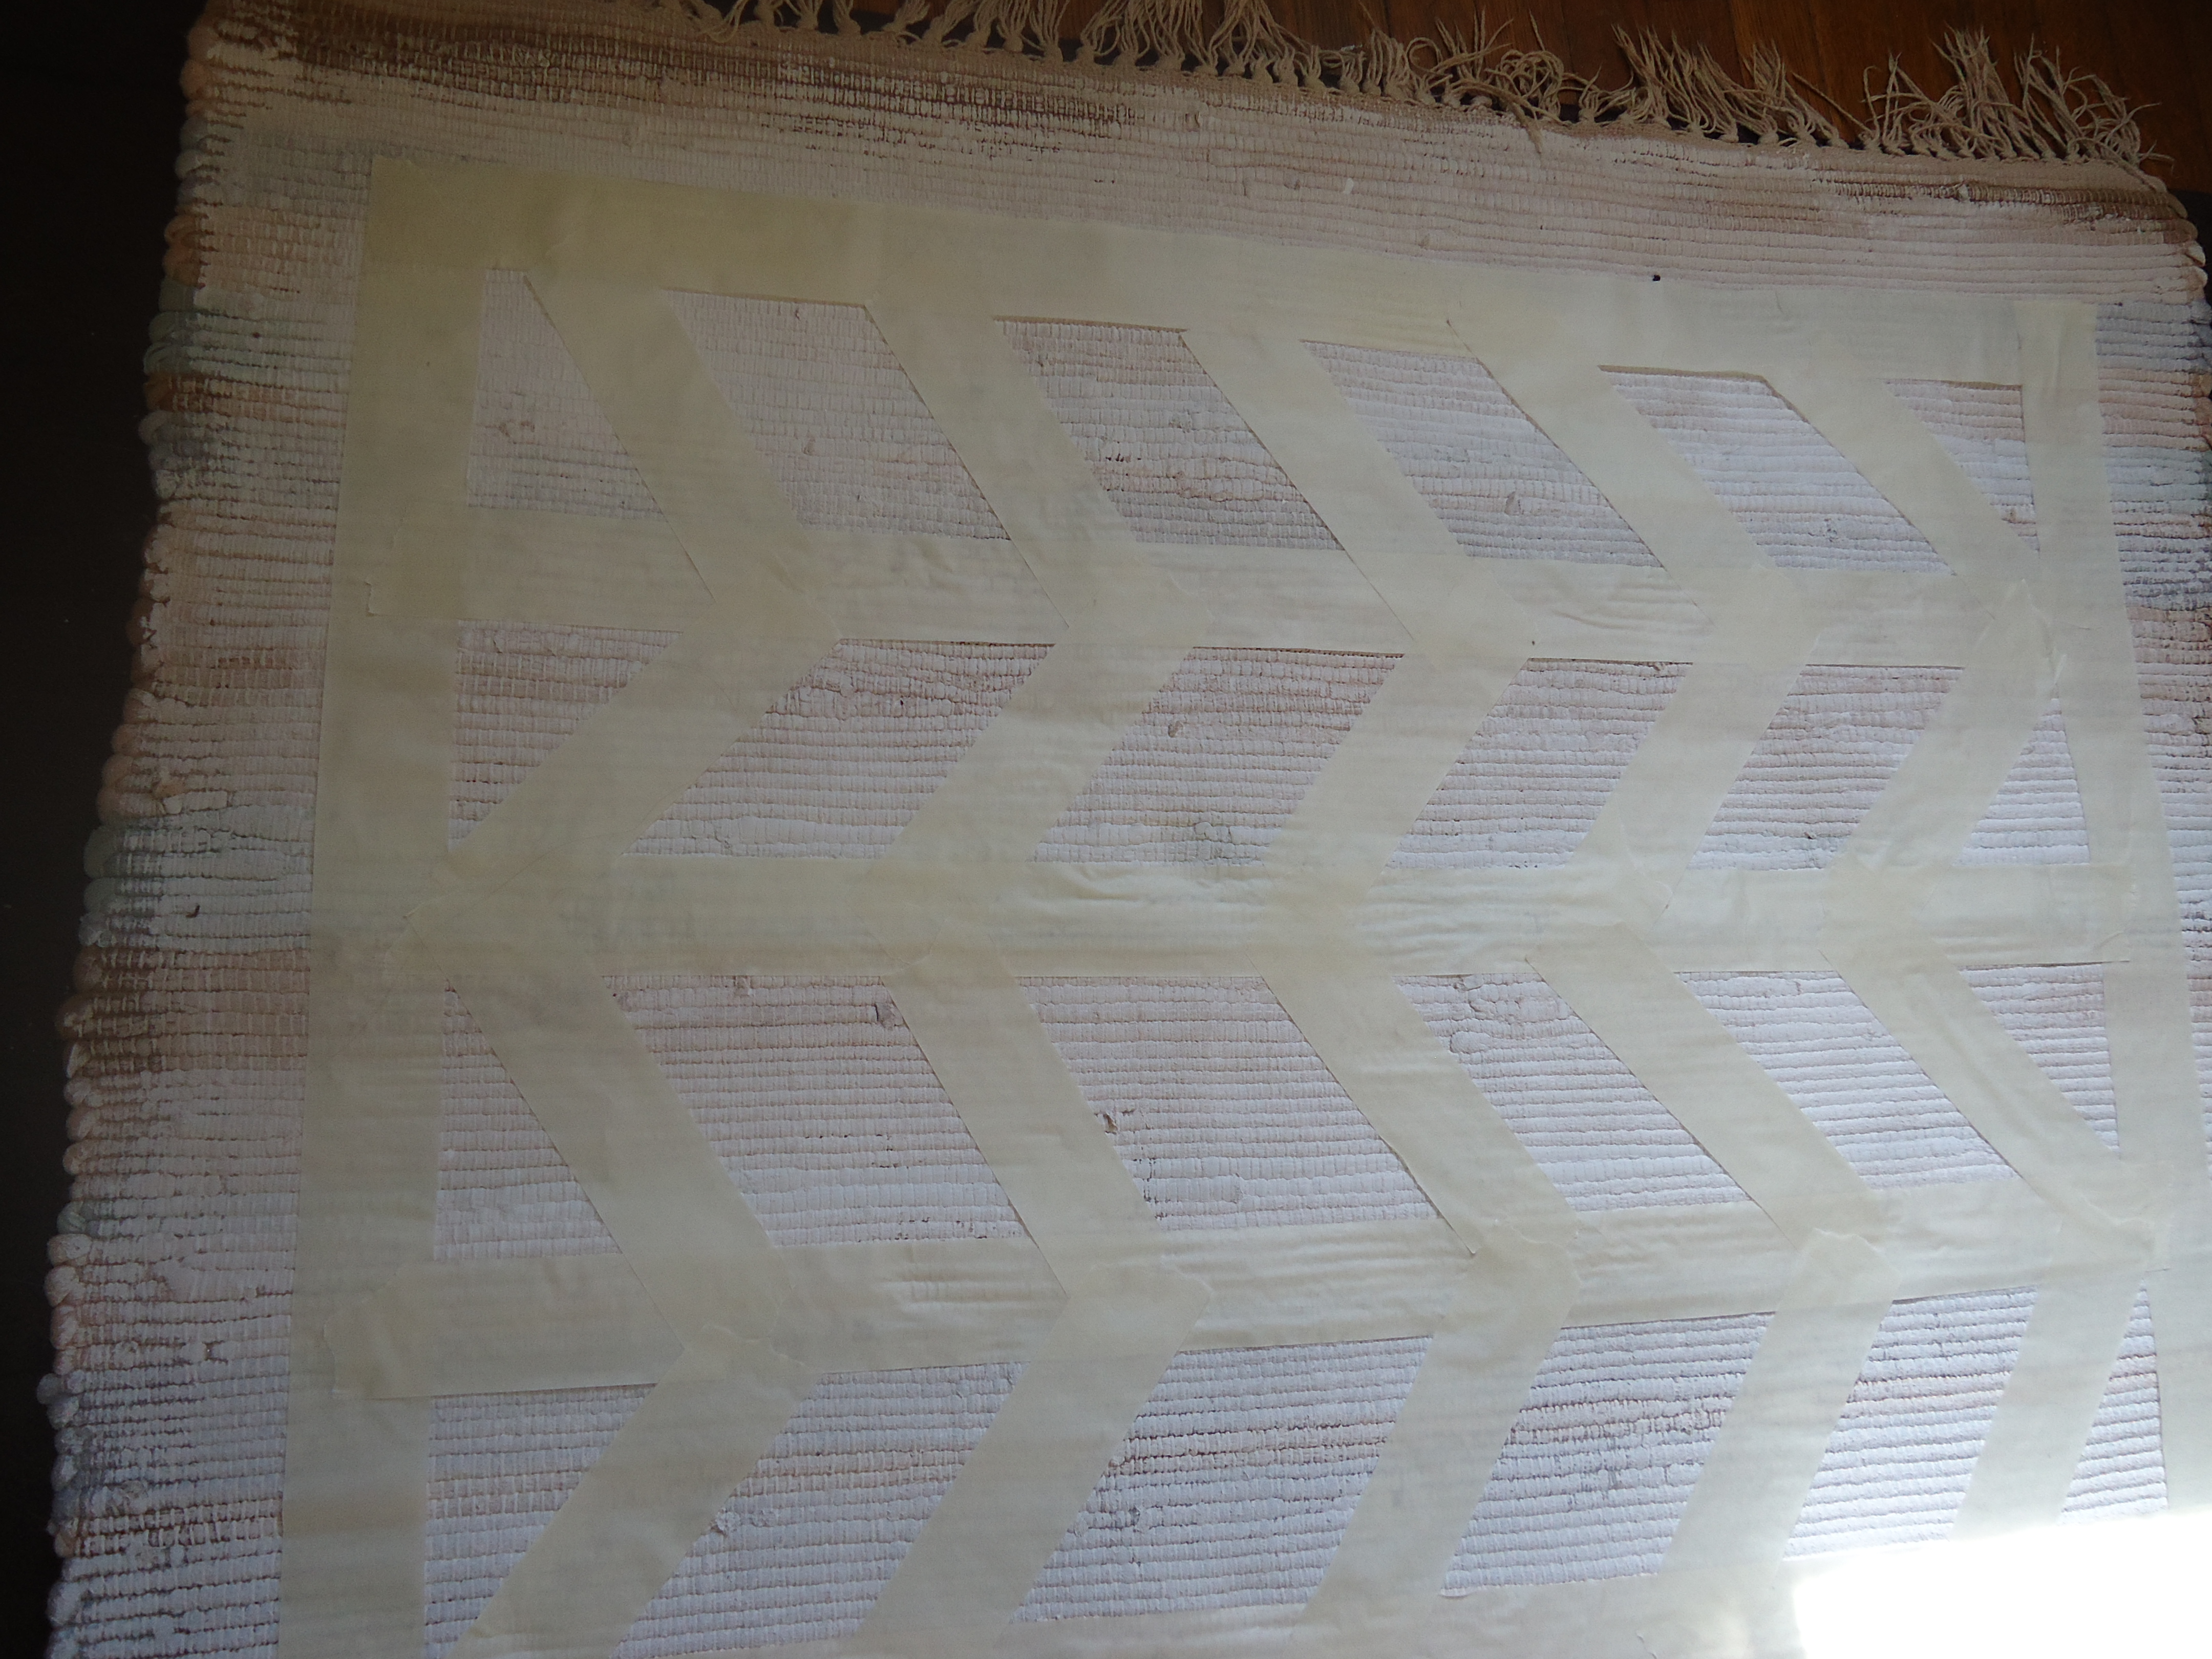
So, I went ahead and taped off the edges of the rug. I left about an inch and a half of room all the way around. Then, I taped off nine different lines straight down the rug horizontally. Then, I started taping off diagonal lines until I found spacing I was happy with.
Then the easy part. Since I had taped off the lines vertically, all I had to do was make sure the row next to it lined up with the one on it’s other side. It sounds a lot more complicated than it really was but once you get the hang of it you get it done pretty quickly.
This is what it looked like when I was about half-way done (sorry about the horrible picture quality, I leave the picture taking to S 🙂 ).

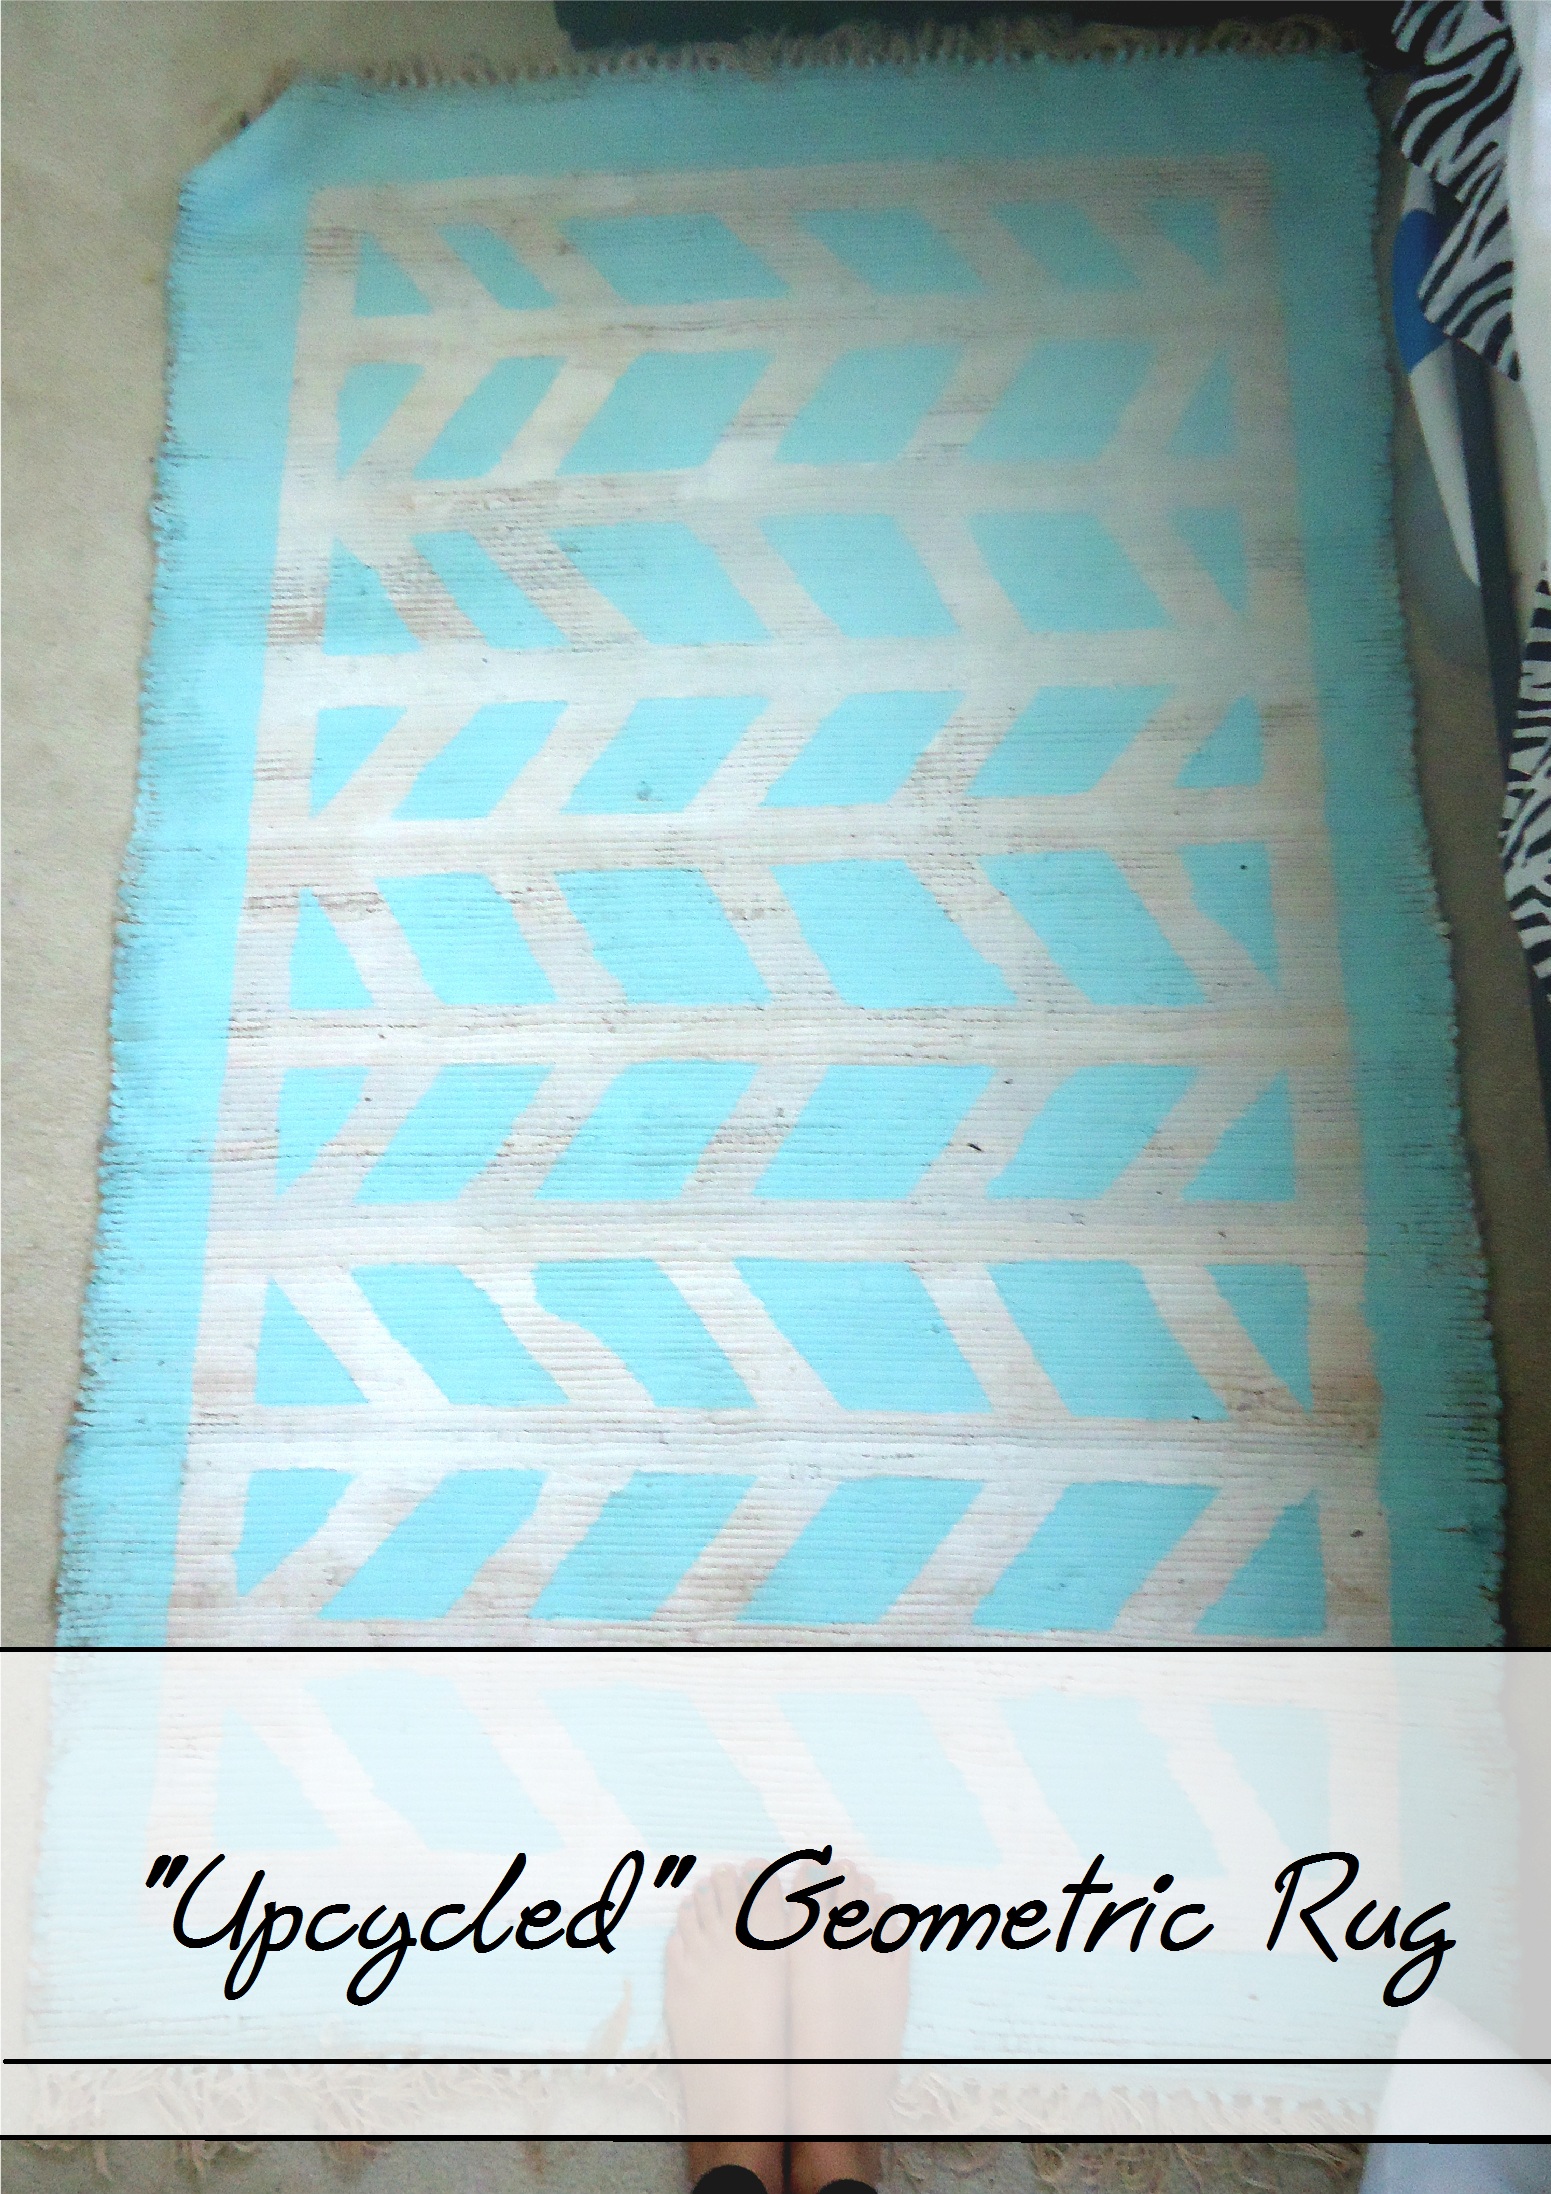
Step 3- Take your other color and paint wherever you want it! After I got done i thought of how it would have looked even better if I would have done an ombre blend from top to bottom but it was too late by the time I thought of it (so sad 😦 )
Let it dry and take off the tape and there ya go! You have yourself an awesome new rug that cost you about $10 (I only had to buy the paint!). At first I wasn’t exactly sure how I felt about it not being totally white but when I put it in my room, I was sold!

Tomorrow I’m going to work on my duvet cover, so hopefully I can post that tutorial tomorrow afternoon!
Comment and lemme know what you guys think!
-V
