Room Makeover Part 1- Upcycled Geometric Rug

Image

Ok, so I moved out about three months ago and now I’m livin on my own and trying my best not to blow every dime I earn towards decorating my shpankin new place. I’ve done a lot of decorating, this is definitely going to need several parts to showcase all of it, thats for sure.

So, my first move to making over my apartment was working on my room. I decided to take this ugly rug that was left at my old house and do something different with it.

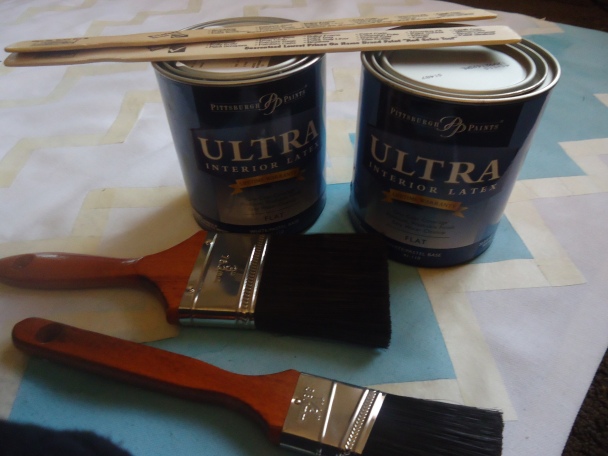
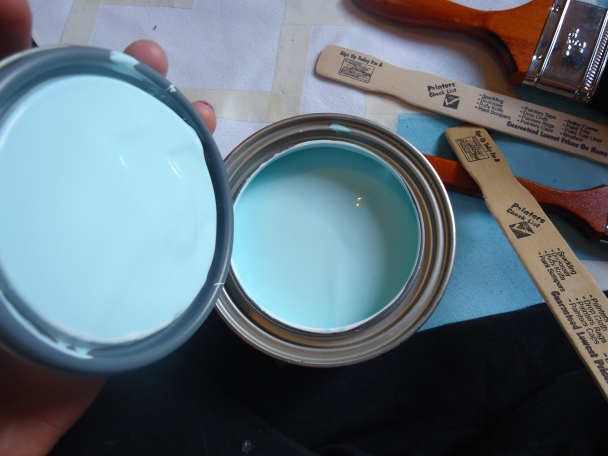
For starters, you’re gonna need whatever paint you wanna use (I used two half-gallons? of paint, one white and one a robins egg blue shade). I also used regular tape I had lying around.

Image

Image

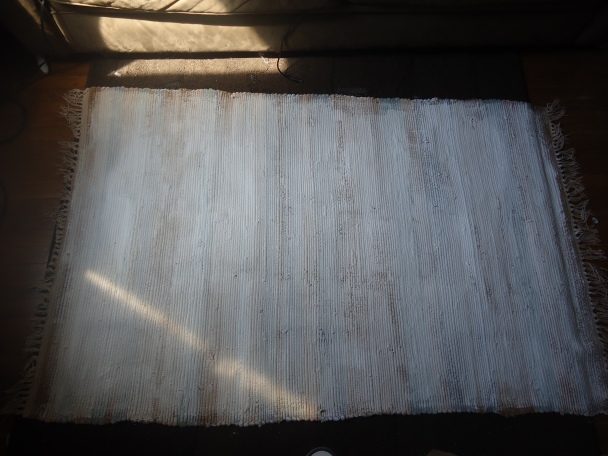
Step 1- Take your ugly rug and paint the crap out of it with whatever color you want as your base. If I would have known the paint was going to seep through the rug as much as it did I would’ve done the blue first, but I chose to do white as the base (*slaps forehead* stupid, so stupid).

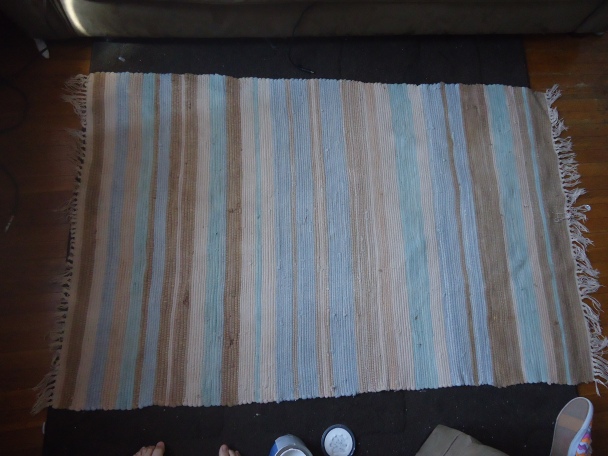
This is how the rug looked before, by the way.

ImageImage

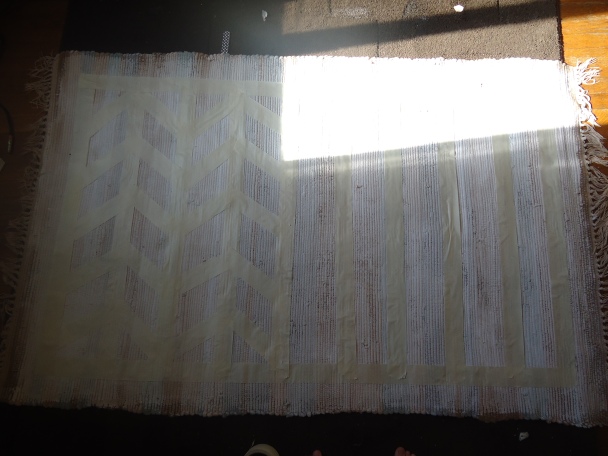
Step 2- At this point, I ran out of paint (awesome). Which meant that you could clearly see that there was a pattern underneath the paint. Of course, I had no patience at this point and I just wanted to start taping the design so I went ahead and stuck with the weird not-white background.

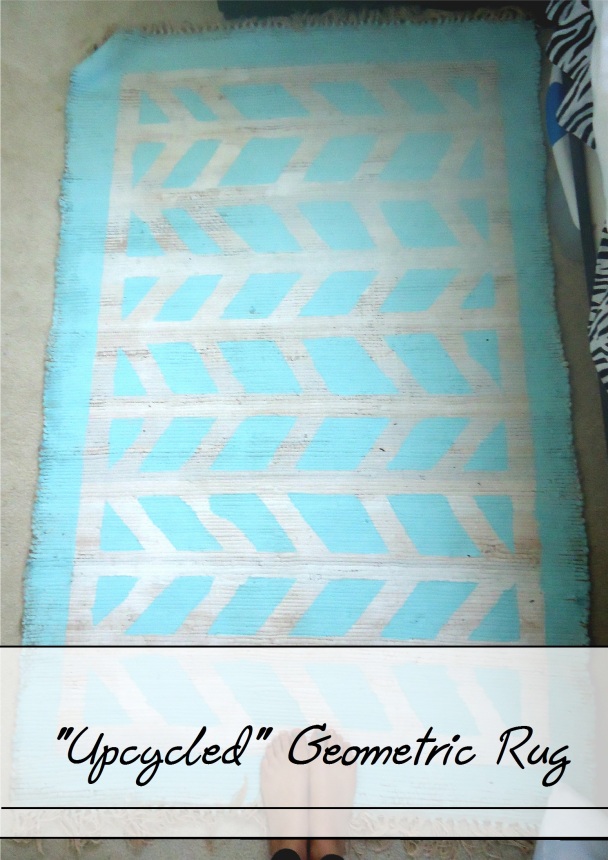
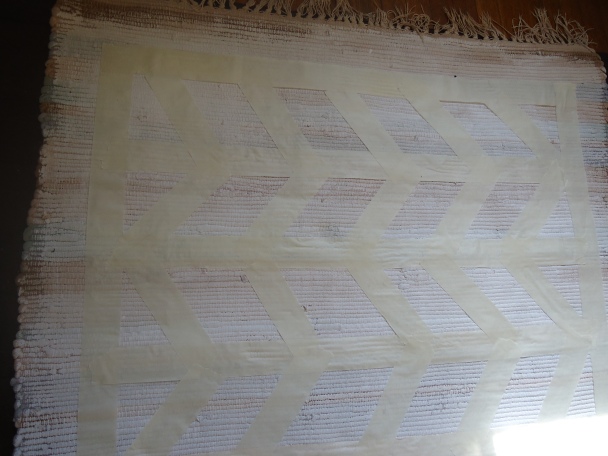
So, I went ahead and taped off the edges of the rug. I left about an inch and a half of room all the way around. Then, I taped off nine different lines straight down the rug horizontally. Then, I started taping off diagonal lines until I found spacing I was happy with.

Then the easy part. Since I had taped off the lines vertically, all I had to do was make sure the row next to it lined up with the one on it’s other side. It sounds a lot more complicated than it really was but once you get the hang of it you get it done pretty quickly.

This is what it looked like when I was about half-way done (sorry about the horrible picture quality, I leave the picture taking to S 🙂 ).

Image

Image

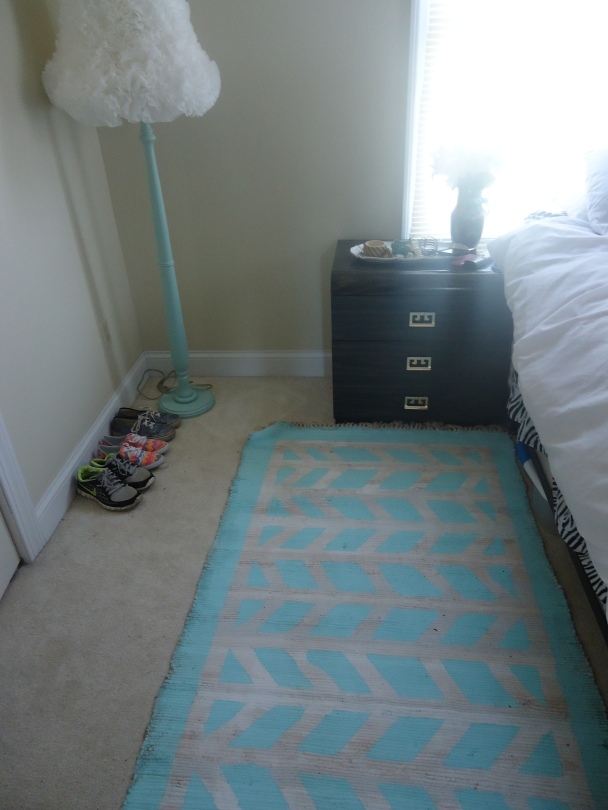
Step 3- Take your other color and paint wherever you want it! After I got done i thought of how it would have looked even better if I would have done an ombre blend from top to bottom but it was too late by the time I thought of it (so sad 😦 )

Let it dry and take off the tape and there ya go! You have yourself an awesome new rug that cost you about $10 (I only had to buy the paint!). At first I wasn’t exactly sure how I felt about it not being totally white but when I put it in my room, I was sold!

Image

Tomorrow I’m going to work on my duvet cover, so hopefully I can post that tutorial tomorrow afternoon!

Comment and lemme know what you guys think!

-V

Animal Print

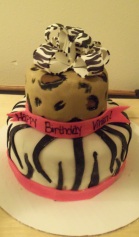
ImageSo this is the first post for “the baker…”hopefully it goes ok (:  . I make cakes for fun all the time, sell some to friends and family, but I’ve had no real classes or anything on cakes, just kind of taught myself with a lot of trial and error.

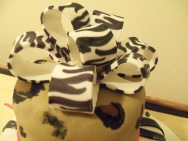
To start the cake I just used a 4in and 6in round pans and made two layers for each tier. Then dirty iced it and covered each tier with a fondant base. I’ve tried making a marshmallow fondant, homemade fondant, wilton fondant,  but found that satin ice always seems to be the easiest and has the best taste. Then I did the bow because it takes a few hours to dry. To make my bows, I dont really do any measuring (although i pry should) I just cut about 15 3 in strips, then fold and seal them with some frosting and let them dry. I used an edible black marker to make the zebra print, since this cake was pretty much entire animal print.

ImageThen I just rolled out some black and just started cutting some strips. I don’t have any real pattern for the zebra, just kind of go with it. For the cheetah i tried rolling other colors into the light brown so I wouldn’t have to draw them all on there, but after wasting lots of fondant, realized that wasnt going to work because it would constantly tear the base fondant. So I just used the edible markers again and just drew the spots onto it.

To put it together I use straws for the bottom tier, so the pressure from the top wont make the bottom bulge (figured that out the hard way). Then use a little frosting to keep it into place. I always put a border around the bottom tiers just because i think it gives it a cleaner look, and adds something to the cake. To put the bow together, I put a little bit of frosting then add four strips, then frosting on top that with four more strips in between gaps, and continue from there until I think the bow looks full (hopefully I can put up a post sometime on a step by step for the bows 🙂

But yea that’s how I made this cake and what the finished process looks like…enjoy (:

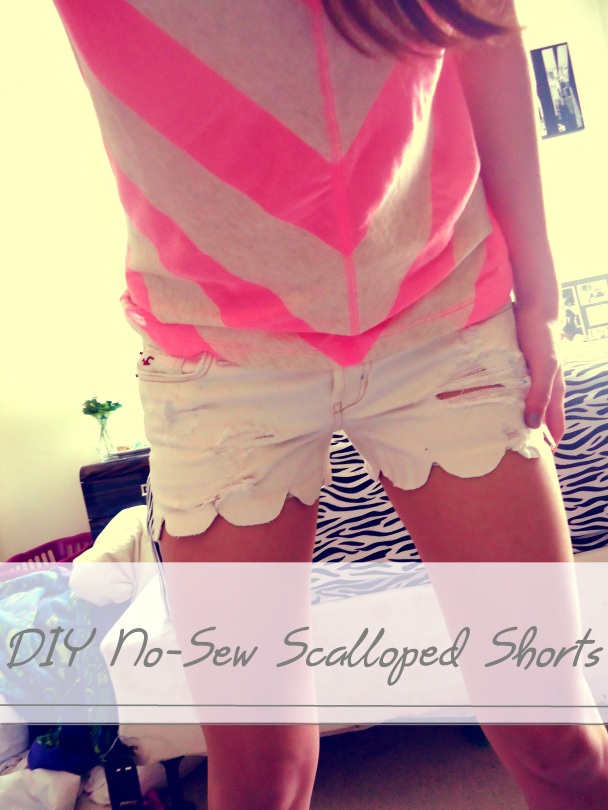
DIY No-Sew Scalloped-Edge Shorts (First Post)

Image

Why hello everybody! This is my first post and I’m really excited to get this thing going! Now, I can’t take full credit for this tutorial because I was inspired by a post on the blog, Dream, Create. If you want to check out her version of this, go here.

Anyways, I stumbled upon this tutorial while spending one of my many daily hours on Pinterest and I decided I had to give it a shot. While I thought the idea was pure GENIUS, I found out that the only fabric adhesive I had was iron-on and she used a no-heat necessary adhesive over at Dream, Create. So, here goes!

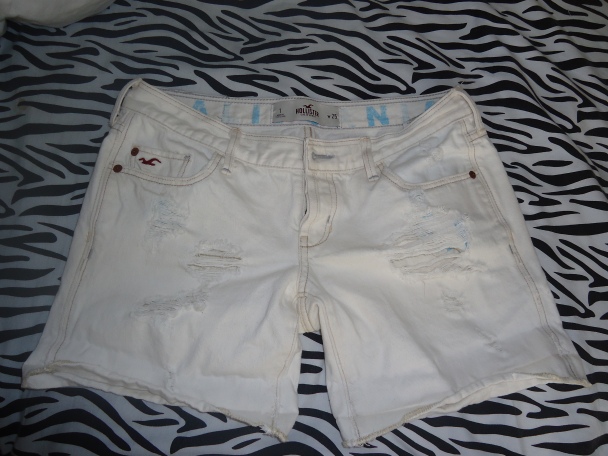
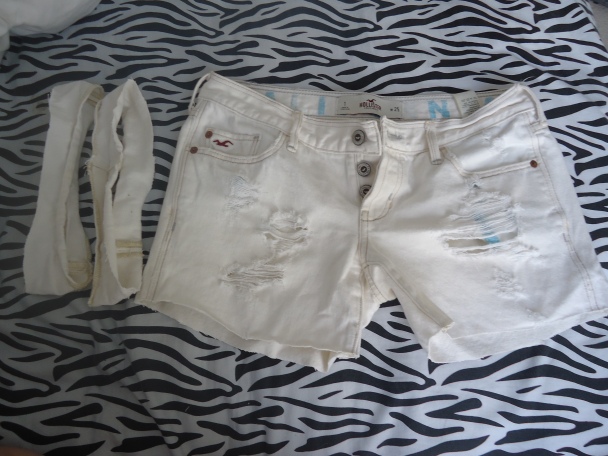
1. Basically, you just need a pair of shorts that could use a little attention, scissors, and a fabric adhesive of some kind. Like I said before, I used a heat-activated adhesive so this made my project pretty interesting.

Image

2. Your next step, is to cut off however much you want to get out of the scallop. I found that longer shorts make this step easier because it gives you more material to work with, whereas shorter shorts can only be cut so short. I only ended up cutting off about 4 inches or so (not so good with measurements, dont judge me)Image

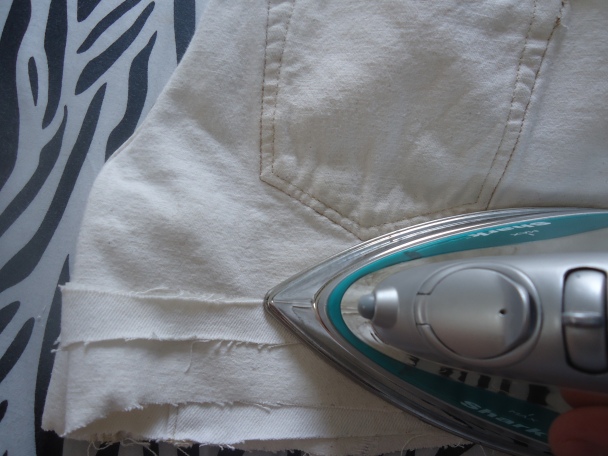
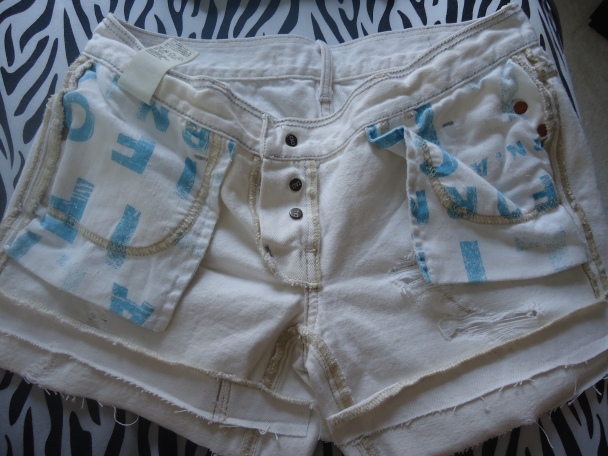
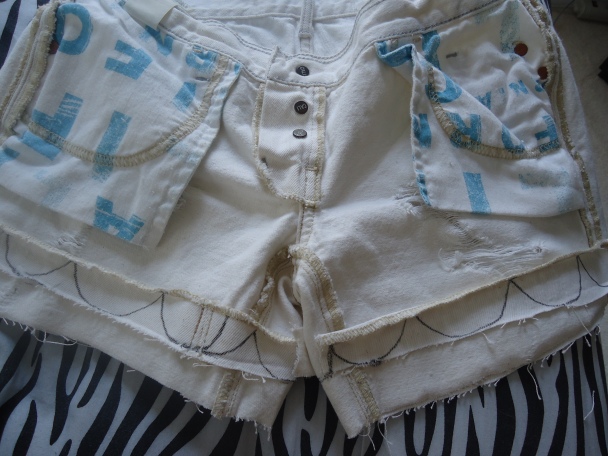
3. So this is where it got tricky…I had to figure out a way to “tape” the left over material I just cut off, to the inside of my shorts so that when I cut the scallop, it wouldn’t fray. So, I turned my shorts inside out, and using my iron, started to “glue” the leftover material to inside of the shorts all the way around.

Image

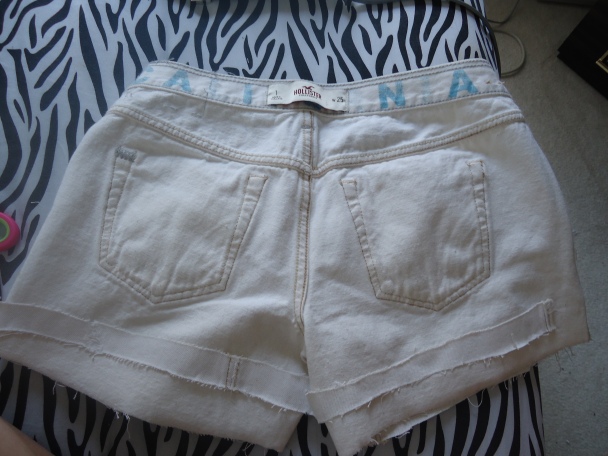
 So, when you’re done it’ll look should look something like this…

Image

Image

4. Your next step is to go ahead and draw out your scallop design. No, you don’t need a template. Live a little, and wing it (you’re going to notice this is something I do A LOT)

Image

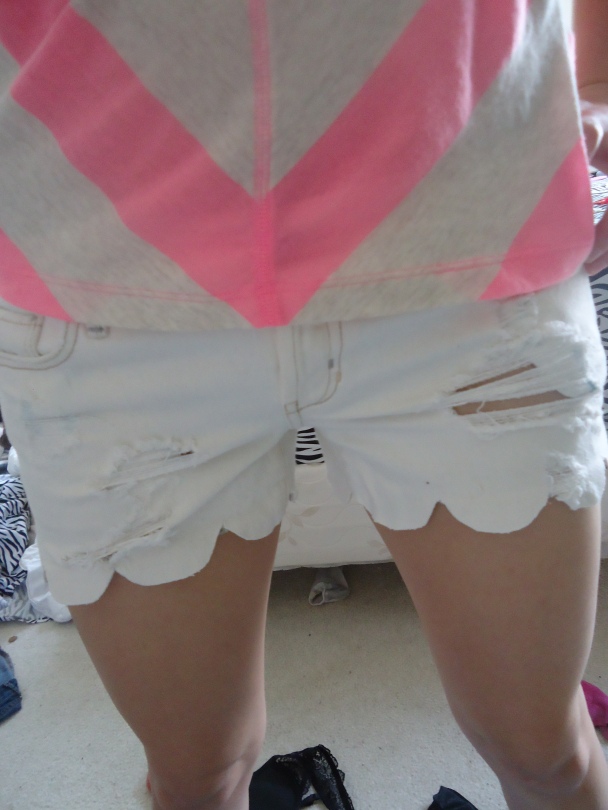
5. OK, now you’re almost done! Just go ahead and cut your shorts along the lines (or not because you decide to do some even cooler edge I didn’t think of, in that case post your version of it in the comments! 🙂 )

 
Image

And there you have it! You have your awesome new pair of scalloped shorts for summer! (Yes, I have weird legs/knees and its something I’ve gotten used to 🙂 ) Hope you guys liked my first post and make sure to leave your comments telling me what you think!

-V